🌾 How to Make Korean Rice Water Toner: Your Skin’s New Best Friend 🌾

🌾 How to Make Korean Rice Water Toner: Your Skin’s New Best Friend 🌾
Let’s talk skincare! If you’re on the hunt for a natural way to achieve radiant, glowing skin, look no further than Korean rice water toner. This beauty secret has been a staple in Korean skincare for generations, and it’s making waves in the beauty world for good reason. Ready to elevate your skincare routine? Let’s dive into how to make this effective toner at home!
What is Korean Rice Water Toner? (And Why It Matters)
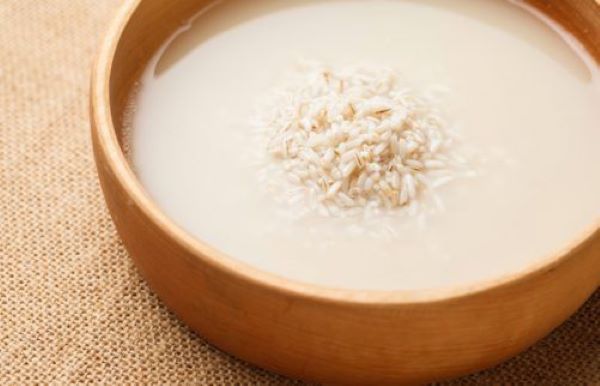
Korean rice water toner is the nutrient-rich liquid left over after rinsing or soaking rice. This milky elixir is packed with vitamins, minerals, and antioxidants that are excellent for your skin. It acts as a natural toner, helping to hydrate, brighten, and tighten your complexion while minimizing the appearance of pores.
Why Korean Rice Water Toner is Skincare Magic
Here’s what makes rice water a powerhouse for your skin:
Inositol:A carbohydrate that helps improve skin texture and promotes cell turnover.
Amino Acids:
These are vital for skin hydration and elasticity, keeping your skin supple.
Vitamin E:
Known for its antioxidant properties, it protects the skin from free radicals and promotes a healthy glow.
B Vitamins:
Biotin and niacin help maintain skin balance and enhance radiance.
Minerals:
Like magnesium and zinc, which support skin healing and reduce inflammation.


The Benefits of Korean Rice Water Toner: Your Skin’s Glow-Up
Hydrates and Nourishes 🌱Rice water deeply hydrates the skin, leaving it plump and fresh.
Brightens Complexion ✨
Regular use can help fade dark spots and enhance overall skin tone, giving you that coveted glow.
Minimizes Pores 💧
The tightening effect of rice water helps reduce the appearance of pores, making your skin look smoother.
Soothes Irritation 🔧
Rich in anti-inflammatory properties, it calms redness and irritation, perfect for sensitive skin.
Enhances Absorption 💫
Using rice water toner before your other skincare products helps them penetrate better, maximizing their effectiveness.
How to Make Korean Rice Water Toner (Your Skin Will Thank You)
Ingredients:
- 1 cup of uncooked rice (white or brown)
- 2-3 cups of water
Instructions:
Rinse the Rice:Start by rinsing the rice under cold water to remove any impurities. This step ensures that your toner is clean and safe to use.
Soak the Rice:
In a bowl, add the rinsed rice and pour in 2-3 cups of clean water. Let it soak for about 30 minutes. The longer you soak, the more nutrients will leach into the water.
Strain the Liquid:
After soaking, strain the rice using a fine mesh sieve or cheesecloth. The liquid you have left is your rice water toner!
Store:
Pour the rice water into a clean bottle. You can store it in the fridge for up to a week. (Bonus: Using chilled toner feels refreshing on the skin!)
Bonus Hack: Fermented Rice Water for Extra Benefits 💥
For an even more potent toner, try fermenting your rice water:
- After following the basic recipe, leave the strained rice water in a closed container at room temperature for 24-48 hours to ferment. The fermentation process enhances the nutrient profile.
- Once fermented, store it in the fridge and dilute with water before use, as it can be quite strong.
The Final Word: Rice Water Toner = Skincare Gold
Korean rice water toner isn’t just a trend—it’s a time-tested beauty secret that delivers real results. It’s 100% natural, easy to make at home, and incredibly effective for achieving glowing skin. Whether you’re looking to hydrate, brighten, or minimize pores, this toner has got you covered.
So, whether you’re a skincare novice or a beauty aficionado, incorporating rice water toner into your routine is a simple yet impactful step toward healthier skin. Start making it today and enjoy the transformation! 🌟
#GlowUpYourHair #tilt #tiltcosmetics #haircare #skincare #RiceWaterToner #SkincareGold #FermentedRiceWater
By-Shantanu Deshmukh